Demystifying Dimensions: A Guide on How to Measure Picture Frame Size Perfectly
Over 60 million custom framing jobs are completed each year in the United States, emphasizing the nation’s love affair with preserving memories and decorating homes. Yet one crucial factor often stands between a photograph and its perfect showcase: the precise measurement of the picture frame size. Understanding how to measure frame size is not only about capturing the full scope of your cherished image; it’s a critical step to ensure the photograph fits snugly and looks its best.
When it comes to figuring out how to measure a picture for a frame, several elements come into play beyond simply length and width. You must consider aspect ratios, potential cropping, matting, and the frame’s style. A mismatched frame can crop out crucial elements of your photo or leave unsightly gaps. That’s why having the skills to calculate frame size is a must for any photography enthusiast or interior design aficionado.
How to Measure Picture Frame Size:
Understanding the Basics of Frame Measurement
Embarking on the journey of framing a precious photograph or artwork begins with the fundamental step of measuring picture frame size. This initial task is not only about achieving aesthetic harmony but also about safeguarding the integrity and longevity of your piece. The meticulous process of determining frame measurements is akin to acquiring a bespoke suit; it requires precision and an eye for detail to ensure a tailored fit.
The Importance of Accurate Dimensions in Framing
Whether you’re a photographer poised to exhibit or a homeowner adorning a living space, recognizing the importance of pinpoint measurements is paramount. The frame’s dimensions are not merely about looks but also about the preservation of the photo, preventing it from buckling or suffering damage over time. In framing, accuracy is not just a preference; it is a necessity to maintain professional and visual standards.
The Difference Between Frame Size and Picture Size
Understanding the dichotomy between frame size and picture size is vital in measuring frame dimensions. The frame size encompasses the frame’s outermost edges, while the picture size pertains to the displayed image’s dimensions. It’s a crucial distinction that forms the basis for selecting the same picture mount and right frame, ensuring a seamless fit that enhances the visual impact of the displayed content.
Commonly Used Terms in Frame Sizing
In the realm of framing, familiarity with jargon such as ‘aspect ratio’ and ‘viewing distance’ is indispensable. Aspect ratio, the proportionate relationship between an image’s width and height, guides the selection of a harmonious frame, while viewing distance influences the necessary resolution, guaranteeing the image’s clarity when admired up close or from afar. A grasp of these terms equips you to make informed decisions when capturing or showcasing moments.
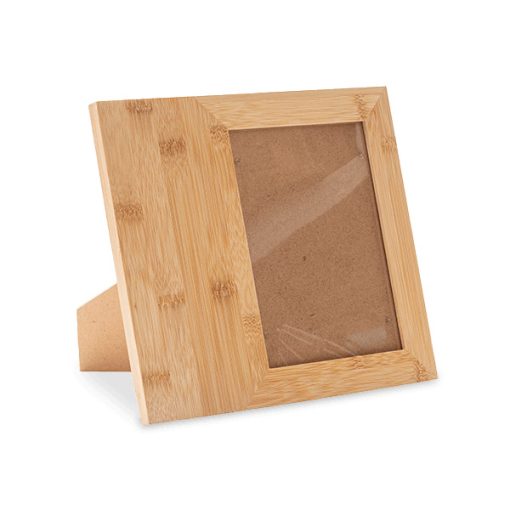
Personalized Bamboo Picture Frame
Discover the timeless allure of our Bamboo Picture Frame, a sophisticated fusion of nature’s beauty and personalized nostalgia. Crafted from sustainable bamboo, this frame stands out among traditional options like vintage picture frames, wooden picture frames, and wood picture frames, offering a unique twist to your cherished memories. Our versatile Bamboo Picture Frame comes in…
How to Measure Picture Frame Size
Embarking on the journey of framing your treasured photographs starts with a crucial step: learning how to measure frame size. It’s not simply about choosing a frame that catches your eye; it’s about precision, attention to detail, and ensuring the frame complements your image perfectly. Here’s a comprehensive guide to measuring photo frame size to guarantee your photos are showcased as they deserve.
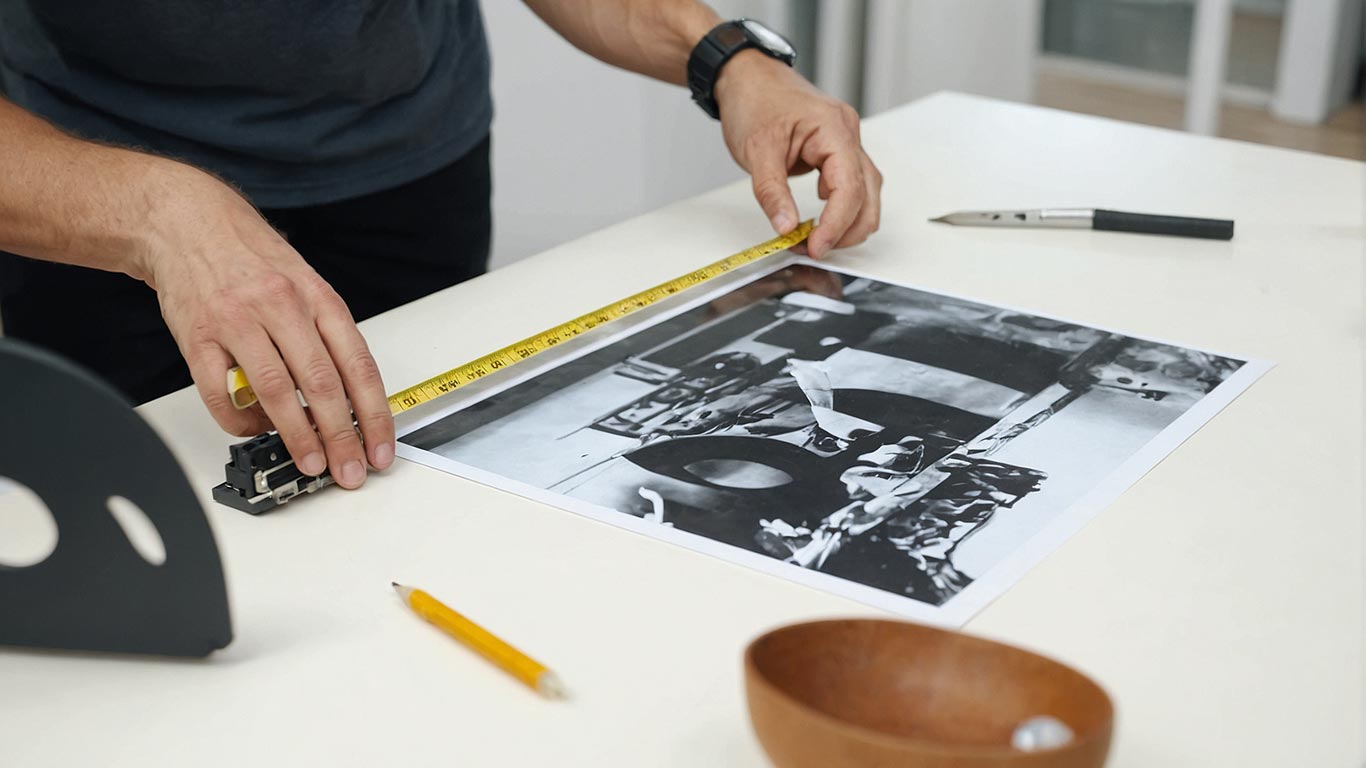
To begin, you’ll need to ascertain the width and height of the photograph. Start by laying the image on a flat surface and use a reliable measuring tool to capture the dimensions. If you’re planning to include matting—recommended to enhance the appearance and protection of your picture—remember to add a buffer margin around the actual size of the photo.
Another pivotal aspect is understanding the common aspect ratios like the 3:2 ratio typical to a full-frame image from a renowned SLR camera. Aspect ratios are essential as they define the proportional relationship of the image and hence, influence the choice of frame.
Measure from the inside edge where the glass of the frame unit will rest. This measurement dictates the visible area and is vital to note if you’re looking to avoid any unwanted cropping of your photo. For example, if your photo measures 8×10 inches, the glass opening should be exactly that, ensuring a snug and proper fit.

When scaling for matting and frame size, you want to divide your target longest edge size by the aspect ratio to determine the scaling factor you prefer. Apply this factor to find the shorter dimension, which will assist in achieving a scale-appropriate frame size without the worry or fear of cropping the photo awkwardly.
Consider the table below to have a clearer understanding of how the aspect ratio can impact the dimensions of your frame:
Photo Size Aspect Ratio With Matting (Additional Inches) Frame Size Needed 4″x6″ 3:2 2″ 8″x10″ 5″x7″ 5:7 2″ 9″x11″ 8″x10″ 4:5 2″ 12″x14″
Armed with these measurements and an understanding of your needs, you’re now ready to procure the perfect frame that not only fits physically but elevates the beauty of your cherished image. After mastering how to measure photo frame size, the process will become second nature, ensuring every picture you mount opening your frame is met with the precision it deserves.
Selecting the Right Tools for Measuring Frame Dimensions
When planning to hang a new piece of art or a cherished photograph, knowing how to nail the perfect fit can make all the difference. The process begins with selecting the right tools for precise measurement of your dimensions. Taking into account tips for measuring dimensions and leveraging techniques for determining frame size will ensure that your artwork is displayed to its best advantage.
Using a Measuring Tape for Precision
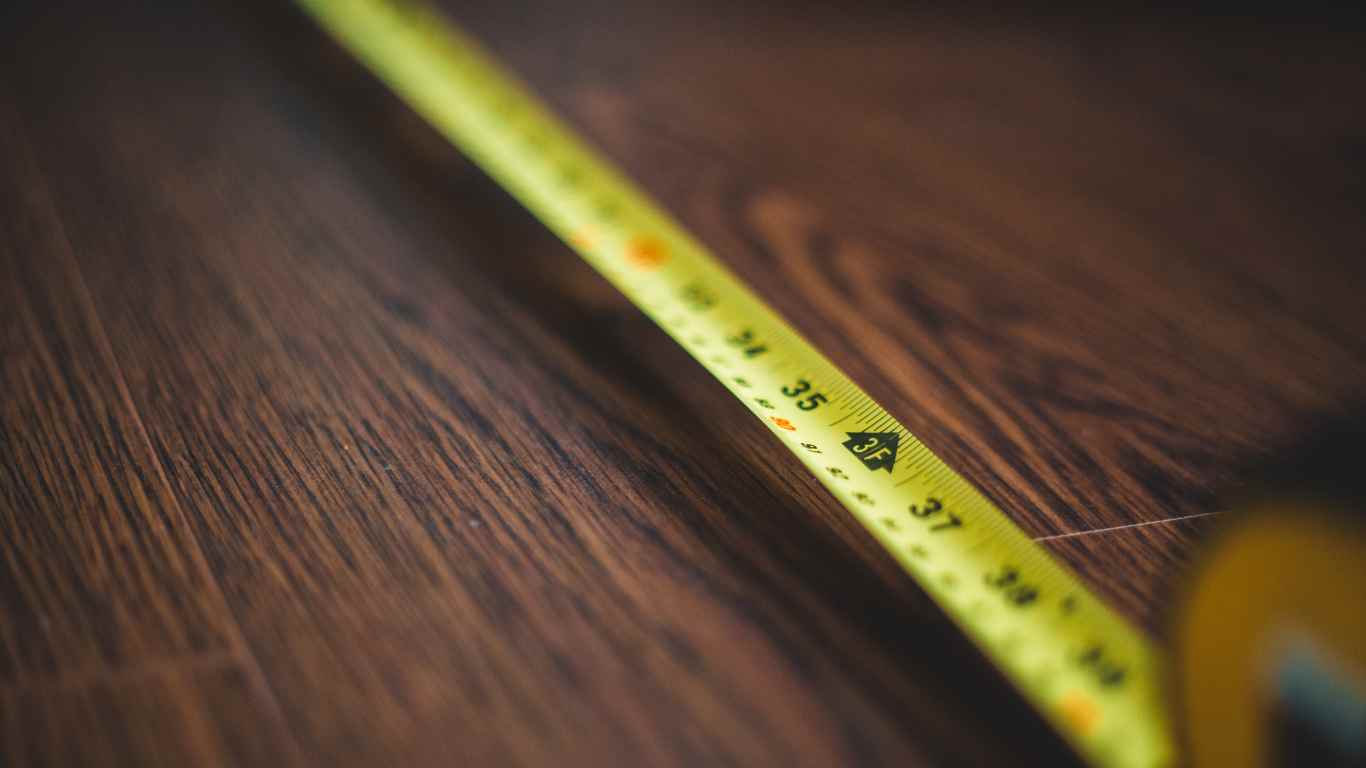
The go-to tool for most framing experts is a flexible measuring tape. Unlike rigid rulers, a measuring or tape measure can effortlessly contour to the shape of the frame, providing precise and verifiable data. If your aim is to measure the diagonals, which ensures your frame is perfectly square, a measuring tape is also indispensable.
Tips for Using a Ruler or a Yardstick Effectively
If you’re dealing with smaller frames, a ruler or a yardstick could be your tool of choice. They are ideal for tasks requiring exact increments measure. Remember these critical pointers when using either of these tools:
- Always align the edge of the ruler or yardstick with the frame’s edge to avoid inaccurate readings.
- Check the starting point of the measurements; some rulers have blank edges before the scale commences.
- Press down firmly to ensure the measurement does not slip during the process.
- For ultimate precision, measure at least twice and compare your findings.
Applying these techniques during the measurement process will help prevent common pitfalls and set the foundation for a perfectly sized frame. With the right approach, you’ll be well-equipped to make your selection with confidence, knowing your artwork will look its best for years to come.
Avoiding Common Mistakes When Measuring Picture Frames
When embarking on the task of framing your cherished photographs, it’s crucial to follow the correct steps to calculate picture frame measurements. First and foremost, do not overlook the moldings’ width. The frame’s molding can affect the visible area of your picture and needs to be factored into the total frame size. Moreover, differentiating between the glass or viewable area and the overall dimensions is a key step to ensure precision.
Avoid confusion by remembering that the listed frame size always corresponds to the photo size, not the outer dimensions of the frame. Therefore, if matting is a part of your presentation, ensure that your frame can accommodate this additional layer by adjusting the measurements accordingly. It is necessary to take multiple measurements from various angles, particularly with custom-sized photos or frames with unique designs, to confirm that the dimensions are consistent throughout.
Frame Component Description Consideration Frame Molding Width The external horizontal borders of the frame Include in the total frame size calculation Viewable Size The portion of the photo that will be seen Do not cover the mistake with the outer frame size Matting Additional border around the photo within the frame providing aesthetic appeal Adjust frame size to include matting if used
By preventing these common mistakes, you can confidently proceed in selecting a frame that complements your photograph both aesthetically and accurately. Adequate preparation and careful consideration of these factors will lead to a beautiful display of artwork for your picture, impeccably framed to last for years to come.
Adjusting Measurements for Special Frame Features
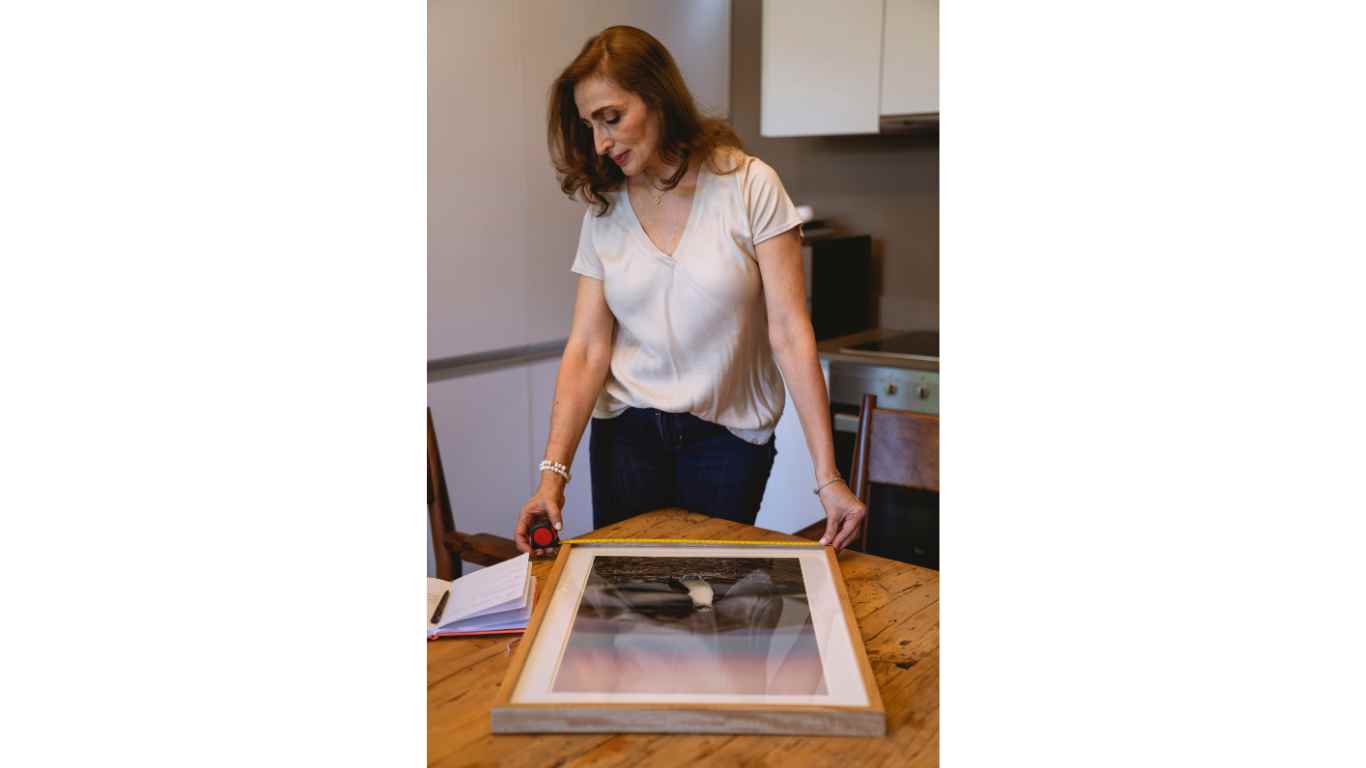
When you’re dealing with the intricacies of measuring a photo for a frame, it’s important to consider any special features that might alter the typical measurement process. Frames are not just simple four-sided figures; they often have more options and come with elements that add richness and depth to your picture but require you to adjust your measurements accordingly.
Accounting for Matting and Border Requirements
To achieve that gallery-like quality in your framed photos, matting can play a crucial role. It acts as a visually pleasing transition between the photograph and white borders of the frame. However, matting introduces another variable into the equation when measuring white borders of a photo for a frame. Here’s how you can precisely determine the additional border width you’ll need:
- Measure the actual size of your photo.
- Decide on the width of the matting based on the size of the photo and personal aesthetic preference.
- Add twice the matting width to both the height and width of the photo size to get the final frame size.
How Frame Style Influences Measurement Techniques
The style of the frame, from minimalist to baroque, impacts how you must approach its measurement. Complex or ornate frames may have embossed details or raised patterns that can obscure more of the photo’s edges. Therefore, techniques for determining frame size should be adapted to focus on the frame’s “sight area”—the part of the frame where your photo will actually show.
If you’re wondering how to adjust for these stylistic elements, try the following:
- Identify the sight area by measuring the opening on the back side of the frame where the photo will sit.
- Subtract the width of any decorative elements from the sight size to ensure full visibility of your photograph.
- Match these revised measurements with your photo’s dimensions, considering any desired matting.
By taking these steps into account, you ensure that every detail of your photo is perfectly framed and that none of your precious memories are hidden behind an overly enthusiastic frame design. Remember, the frame should complement, not compete with, the photograph it displays.
Techniques for Determining Frame Size for Non-Standard Photos
When it comes to framing non-standard photos, traditional methods of measurement may fall short, leaving you puzzled on how to measure a photo for a frame. The key lies in custom framing measurements, which allow for the unique contours and sizes of atypical images. Whether dealing with an irregularly shaped family heirloom or a breathtaking panoramic landscape, the process requires ingenuity and careful planning.
Dealing with Irregularly Shaped Photographs
If you’re faced with an irregular photograph, endeavor to craft a template that replicates its exact shape and dimensions. This tailored approach not only aids in calculating frame size for irregular photographs but also ensures a seamless fit for your image within its new borders. By taking the time to craft this custom template, you set the stage for a framing solution that complements the photo’s distinctive characteristics.
Calculating Frame Size for Panoramic and Custom Images
For panoramic or custom picture frames, begin by understanding the intrinsic aspect ratio and apply this to calculate the anticipated dimensions. This often necessitates a departure from standard framing sizes, propelling you towards custom framing measurements. It’s essential to maintain image quality when adjusting for these expanded dimensions, as the clarity of the photo must remain sharp despite any alterations in size or perspective catering to the diverse viewing distances of your audience.
Translating Measurements into Frame Purchases
Once you’ve mastered how to measure picture size for frames, the final step is to turn those measurements into a tangible art frame that complements your artwork beautifully. Navigating the technical specifications and ensuring you communicate your custom needs clearly to the frame vendor are crucial components of purchasing the frame that meets your expectations.
Understanding Product Descriptions and Specifications
Before committing to a purchase, it’s vital to have a clear understanding of frame size specifications. Retailers often list their products with detailed descriptions that include dimensions, type of material, available finishes, and any additional features. By cross-referencing these details with your own measurements, you can verify that the frame you select will fit your picture perfectly.

SIGN UP FOR NEWSLETTER
Sign up to receive email updates on new product announcements, gift ideas, special promotions, sales and more.
Final Remarks
As the final curtain falls on our comprehensive journey through the realms of mastering picture frame measurement, it’s clear that precision is not just a preference, but a necessity for the displaying of photographs with professional flair. Embracing perfect photo framing techniques may initially seem daunting, but your persistence and attention to detail will ensure every photograph is showcased to its highest potential. This voyage has equipped you with the knowledge to handle a myriad of picture frame scenarios, from the most orthodox to the distinctly non-standard.
Understanding the subtle complexities of aspect ratios, the nuances of matting, and the influence of frame styles transforms you from a mere observer to a skilled practitioner in the art of framing. By applying successful picture framing tips shared throughout this guide, you can sidestep a number of the common pitfalls that snare the unwary. In your toolkit, you now possess the secrets to assessing and capturing the true essence of your photographs, safeguarding them against the ravages of time and the follies of improper presentation.
Exercise the acquired wisdom in your approaches to framing, for instance, letting meticulous and accurate measurements guide your choices, and ensure your transcriptions of dimensions into frame selections are spot-on. Articulate your custom framing needs with confidence, and let the articulation of your requirements be as precise as the measurements themselves. It’s with these strategies in mind that you will enhance not only the longevity of your cherished memories but also their visual storytelling power.
FAQ
How do I measure picture frame size correctly?
To measure picture frame size, start by measuring the width and height of the image you want to frame. Include a buffer margin for matting if necessary. Measure the inside edge where the glass sits to determine the visible area for the photo. Use a flexible measuring tape for accuracy. Adjust measurements based on aspect ratio, matting, and frame style.
What are the differences between frame size and picture size?
Frame size refers to the total external dimensions of the frame, including any borders or moldings. Picture size refers to external size of the actual area where the image will be displayed, which is the inside portion of the frame where the glass protects the photo.
What are the commonly used terms I need to know when measuring frames?
Commonly used terms in frame sizing include ‘aspect ratio,’ the proportional relationship between width and height of whole picture, and ‘viewable size’ or ‘glass size,’ which corresponds to internal size of the area of the photo that will be visible once framed. ‘Outer dimensions’ refer to the full size of the frame, including any decorative elements.
Which tools should I use for measuring frame dimensions?
A flexible measuring tape is ideal for measuring dimensions, as it can conform to the surface and provide precise measurements. For smaller frames or when precise increments inside dimensions are critical, a straight ruler or a yardstick can be effective. Always ensure the tool is perfectly aligned and double check all the measurements for accuracy.
How can I avoid common mistakes when measuring for a picture frame?
Prevent common mistakes by accounting for the width of the corners of the frame moldings and not confusing the viewable size with the outer dimensions. Measure multiple times to verify consistency, especially with non-standard sizes, and remember to communicate all dimensions clearly, accounting for matting and styling preferences.

