DIY Guide: How to Make a Tote Bag Easily
Learn how to make your own tote bag easily with this DIY guide titled ‘How to Make a Tote Bag’. Whether you’re a beginner or a crafting enthusiast, this step-by-step tutorial will show you how to create a stylish tote that’s perfect for everyday use. Discover the joys of customizing your tote bag with various fabrics and designs. With a deep main compartment and six exterior pockets, you’ll have plenty of storage space. Follow the instructions below to get started on your unique tote bag creation.
How to Make a Tote Bag- Key Guidelines:
- Creating your own tote bag is a fun and rewarding DIY project.
- With this guide, even beginners can easily make a stylish and practical tote bag.
- A tote bag with multiple pockets provides ample storage for your belongings.
- Personalize your tote bag with different fabric choices or customization options.
- Consider the size and dimensions of your tote bag based on your needs and preferences.
Materials and Tools Needed
Gather the following materials and tools to make your tote bag:
- ¼-yard cotton fabric for the straps
- ⅔-yard cotton fabric for the pockets
- 2 10¼×14¼-inch rectangles of thin, firm batting
- 1-yard cotton fabric for the lining
- Fabric shears or scissors
- Tape measure
- Pencil or pen
- Iron
- Ironing board
- Quilter’s pins
- Sewing machine
- Thread
- 6-inch sewing gauge
Make sure to have these sewing supplies on hand before starting the project.
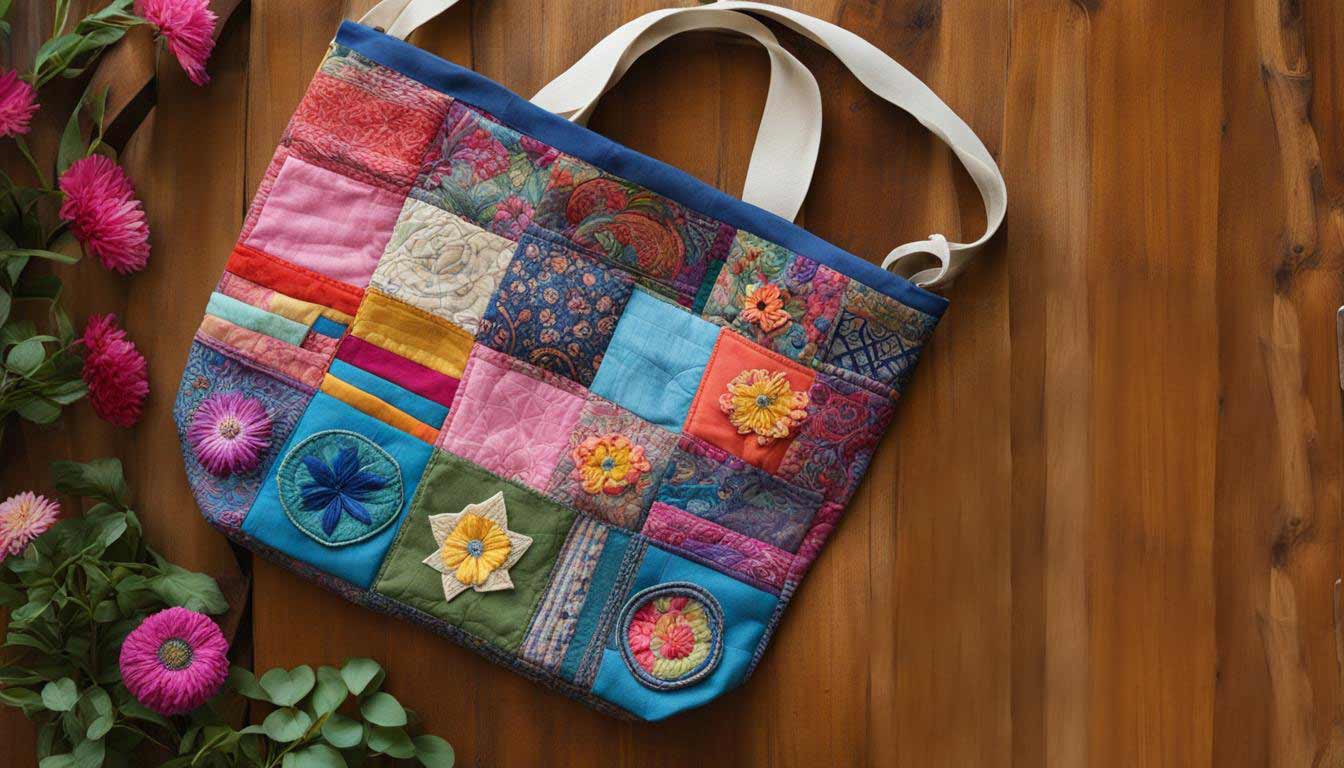
Now let’s move on to cutting the fabrics for your tote bag. But first, take a look at this beautiful example of a tote bag:
Cutting the Fabrics
Now that you have gathered all the necessary materials, it’s time to cut the fabrics for your tote bag. Whether you prefer a cohesive look or want to mix and match different fabrics, the choice is yours. Follow the fabric measurements below to ensure the perfect fit:
| Fabric | Measurements |
|---|---|
| Straps | 2 strips measuring 4×34 ½ inches |
| Pockets | 2 rectangles measuring 14½×16½ inches |
| Lining | 2 rectangles measuring 14½×20½ inches |
Utilize these measurements and your chosen fabrics to create the foundation for your tote bag. Once you have cut the fabrics to size, you’re one step closer to completing your personalized and stylish tote bag.
Assembling the Straps and Pockets
Now that you have the fabrics cut, it’s time to assemble the straps and pockets for your tote bag. Follow these simple steps to create sturdy straps and useful pockets:
- Fold the strap fabric: Take the strap fabric and fold it in half lengthwise, matching the long edges together. Press the fold to set it.
- Create finished straps: Fold the long edges of the strap fabric into the center crease and press them. This will create a clean finish for the straps.
- Topstitch the straps: Sew along the outer edges of the folded fabric to secure the straps and give them a professional look. The topstitching will also add durability.
- Prepare the pockets: Take the pocket fabric and fold it in half lengthwise. Press the fold to create a crease for the pocket.
- Layer the fabrics: Place a lining rectangle and a pocket rectangle together with their right sides facing each other. Make sure to align the edges.
- Add the batting: Lay a thin, firm batting rectangle underneath the layered fabrics to add structure and support to the pockets.
- Pin the layers: Use quilter’s pins to secure all layers together, ensuring they don’t shift during sewing.
- Attach the straps: Position the straps along the bottom edge of the layered pieces, on the side where the pockets are. Make sure they are evenly spaced and aligned.
- Secure with topstitching: Sew along the bottom edge of the layered materials, attaching the straps securely and creating a neat, finished look.
- Repeat for the other side: Repeat the process for the other side of the tote bag, following the same steps to assemble the straps and pockets.
With the straps and pockets assembled, your tote bag is taking shape. The straps will provide comfort and durability while carrying the bag, and the pockets offer convenient storage for small items. Continue your sewing journey to the next section to learn how to sew the bag itself.

Sewing the Bag
Now it’s time to sew the tote bag. Follow these steps to bring your bag together:
- Layer both bag pieces with right sides together and pin them in place. Make sure to secure the loose portion of the straps.
- Join the bag around all edges, using a ½-inch seam allowance. Remember to leave a 5-inch opening at the top center for turning.
- Press the seams open to create a neat finish.
- To shape a flat bottom for the bag, match the bottom seam line to the side seam line, creating a triangular shape. Sew across the triangle, approximately 2 inches from the point.
- Trim the excess fabric from the triangular shape to reduce bulk.
- Turn the bag right side out through the 5-inch opening.
- Insert the lining into the bag, ensuring a smooth and polished finish.
Now your handmade tote bag is complete and ready for use! Enjoy the satisfaction of sewing your own stylish and functional accessory.

Customizing Your Tote Bag
Your tote bag is now complete, and you can customize it to suit your style. Use different fabrics for each bag to create unique designs or add embroidered designs or initials. This tote bag also makes a great reusable gift wrap idea. You can choose customized fabrics for each recipient or create a matching set with different designs. The possibilities for personalization are endless.

Choosing the Size of Your Tote Bag
Before you start making your tote bag, it’s important to decide on the size that will best suit your needs. Consider how you plan to use the bag and what items you want to carry in it. Whether you prefer a smaller, compact tote for everyday essentials or a larger bag for shopping or travel, choosing the right dimensions will ensure that your tote bag is functional and practical.
When determining the size of your tote bag, think about the length, width, and depth that would work best for you. If you often carry books, a laptop, or other bulky items, you might want a deeper bag to accommodate them. On the other hand, if you mainly use your tote for small personal items, a shallower bag might be more suitable.
It’s also worth considering the overall proportions of the tote bag. A bag that is too wide might risk feeling bulky, while one that is too narrow might not provide enough space. Find a balance that feels comfortable and visually appealing to you.
Once you’ve determined the dimensions for your tote bag, you can move on to calculating the amount of fabric you’ll need for the project. This will ensure that you have enough material to create your desired size and avoid any last-minute surprises.
| Tote Bag Size | Dimensions (inches) |
|---|---|
| Small | 12 x 8 x 4 |
| Medium | 16 x 12 x 6 |
| Large | 20 x 16 x 8 |
Use the table above as a reference to help you choose the ideal dimensions for your tote bag. Remember, these are just suggested sizes, and you can customize them to your liking. Adapt the measurements based on your personal preferences and requirements.
Once you have settled on the size of your tote bag, you can proceed to the next steps of the DIY guide and start bringing your creation to life.

Calculating Fabric Requirements
To create your perfect tote bag, you need to calculate the amount of fabric required based on your desired dimensions. Consider the height, width, and depth that you have decided on for your bag. By doing so, you can determine the fabric measurements needed for both the bag faces and the bottom wrap.
Let’s say you want your tote bag to be 12 inches tall, 12 inches wide, and 10 inches deep. To cover the bag faces, you’ll need a fabric piece that is 40 inches long by 23 inches wide. This will ensure you have enough fabric to create the main body of your tote bag.
Remember, these measurements can be adjusted based on your specific preferences and the size of the tote bag you want to create. Take the time to carefully calculate the fabric requirements to ensure your final product looks and functions just the way you envision it.
For a visual representation of the calculations, refer to the table below:
| Bag Dimensions | Fabric Piece Measurements |
|---|---|
| 12 inches tall, 12 inches wide, 10 inches deep | 40 inches long, 23 inches wide |
Now that you have determined the fabric requirements, you can proceed to the next step of cutting and layout for your tote bag.
Cutting and Layout
Once you have your fabric measurements, it’s time to cut and layout the fabric for your tote bag. Here’s how:
- Fold the fabric: Fold the fabric in half to create a rectangle.
- Lay out the dimensions: On the folded fabric, lay out the dimensions of your bag in the middle. Leave half of the depth on each side and at the bottom, and reserve a 2-inch seam allowance at the top.
- Notch the bottom corners: To create a clean edge, notch the bottom corners of the fabric.
- Fold over the reinforcement fabric: Fold over the reinforcement fabric, matching it with the main fabric for added durability.
By following these steps, you’ll be able to ensure accurate cutting and precise fabric layout for your tote bag.
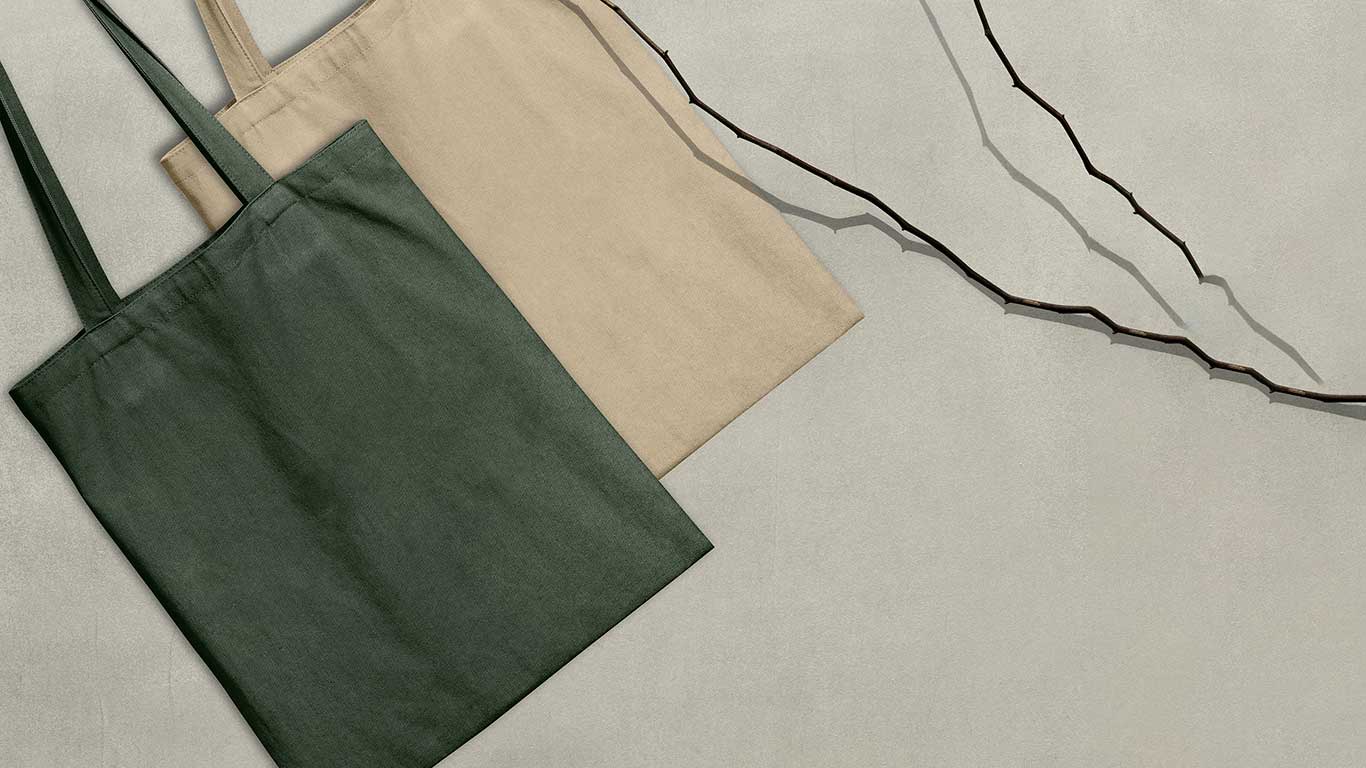
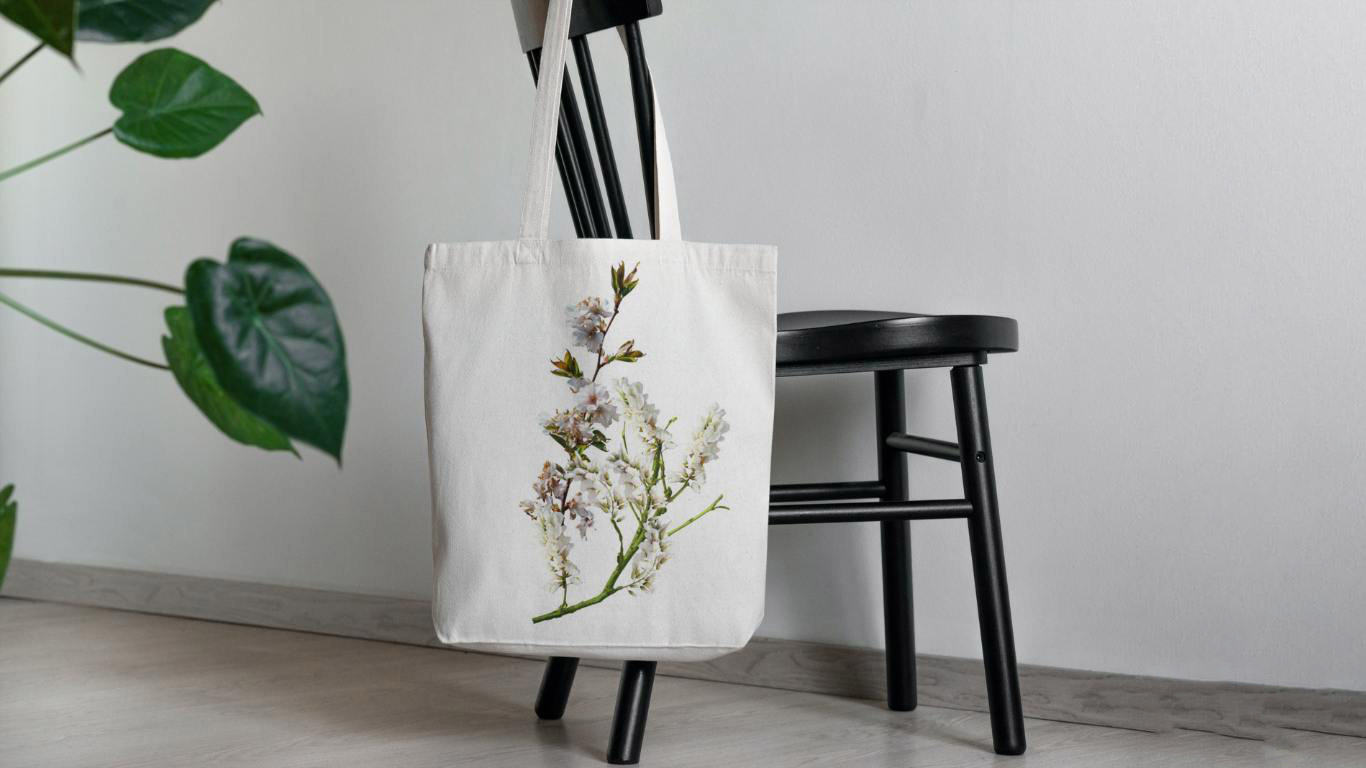
Design Your Own Color Printed Shoulder Strap Tote Bag – Solid Construction Canvas with Handles
This shoulder strap tote bag is excellent quality and extremely useful. Its also lightweight, but relatively heavy construction. Its convenient and practical. You will enjoy sporting this especially with your favorite design printed on it. Customized Recycled Canvas Tote Bag – Off-white/Cream color Dimensions: W 34 cm,H40 cm, Height from shoulder strap 52 cm Weight…
Finishing Touches
As you near the final steps of creating your tote bag, it’s time to add those finishing touches that will give it a professional look. Pay attention to the details as you hem the top edge, attach the handles, secure the reinforcement fabric, and sew the side seams and bottom shut. These small tasks will make a big difference in the overall appearance and durability of your tote bag.
Hemming the Top Edge: To ensure a neat and polished finish, fold the top edge of the fabric inward and press it with an iron. This will create a clean edge and prevent fraying over time.
Attaching Handles: Choose webbing handles that are both sturdy and comfortable to hold. Run the handles under the bag, aligning them with the sides, and secure them in place. This will provide added stability and make your tote bag easier to carry.
Securing the Reinforcement Fabric: For a professional touch, secure the reinforcement fabric on the bottom of your tote bag. This will give it extra support and ensure that it maintains its shape, even when carrying heavier items.
Sewing the Side Seams and Bottom Shut: Use French seams to sew the side seams and bottom shut. This stitching technique encloses the raw edges, giving your tote bag a clean and polished look both inside and out.
By carefully completing these finishing touches, you’ll not only enhance the overall appearance of your tote bag but also ensure its longevity and functionality. Now your tote bag is ready to accompany you on your daily adventures and keep your belongings organized and secure.
| Finishing Touches | Benefits |
|---|---|
| Hemming the Top Edge | Provides a neat and polished finish |
| Attaching Handles | Enhances stability and makes it easier to carry |
| Securing the Reinforcement Fabric | Adds support and maintains the bag’s shape |
| Sewing the Side Seams and Bottom Shut | Creates a clean and polished look both inside and out |

SIGN UP FOR NEWSLETTER
Sign up to receive email updates on new product announcements, gift ideas, special promotions, sales and more.
Final Remarks
Congratulations on completing your tote bag! You have now created a stylish and functional accessory that reflects your personal touch. Whether you followed the pattern or customized it to your liking, your completed tote bag is ready to accompany you on various occasions.
This project, inspired by the guide ‘How to Make a Tote Bag’, demonstrates not just your ability to follow instructions, but also your flair for adding personal touches. The spacious main compartment and exterior pockets provide ample storage space, making it a practical choice for any situation. Additionally, your handmade tote bag can be a thoughtful gift that showcases your sewing skills and creativity.
As you use this bag, remember the steps you followed in ‘How to Make a Tote Bag’, and consider sharing this knowledge with others. Enjoy the satisfaction of using a bag that you made yourself and take pride in the craftsmanship. With its durability and unique design, your completed tote bag is sure to turn heads and serve you well for years to come. Whether you keep it for yourself or give it as a special gift, your completed tote bag is a testament to your creativity, talent, and dedication to making something beautiful and functional by hand.
FAQ
Can I make a tote bag with lining?
Yes, you can make a tote bag with lining. Follow the step-by-step instructions provided in the DIY guide to create a tote bag with a stylish and functional lining.
Is it possible to make a zippered tote bag?
Yes, it is possible to make a zippered tote bag. However, the current DIY guide does not include instructions for adding a zipper to the tote bag design. You can explore other tutorials or patterns that specifically cover zippered tote bags.
Can I make a quilted tote bag?
Yes, you can make a quilted tote bag. However, the current DIY guide does not include instructions for quilting the tote bag. If you wish to make a quilted tote bag, you can find separate tutorials or patterns that focus on quilted designs.
🎧 Never Miss a Drop
Exclusive product releases, hip-hop deep dives, and member-only discounts. Straight to your inbox.
Free forever. No spam. Unsubscribe anytime.

Get the Culture, Delivered
Deep dives into hip-hop history, exclusive product drops, and discounts sent straight to your inbox. No spam, just culture.
Join 2,000+ hip-hop heads already in the loop. Unsubscribe anytime.


